
How to Use a Dry Herb Vaporizer — The Complete Beginner's Guide
Quick Answer
The complete beginner's guide to using a dry herb vaporizer. Learn grinding, oven loading, temperature settings, inhaling technique, session vs on-demand, temperature guide by effect, common mistakes, maintenance basics, and FAQ.
How to Use a Dry Herb Vaporizer — The Complete Beginner's Guide
Note: This article covers portable dry herb vaporizers — electronic devices that heat dried herbs without combustion to produce vapor. This is not about traditional Thai herbal steam cabinets (commonly used for spa-like steam treatments). If you are looking for information about herbal saunas or steam therapy, this article does not apply.
---
What Is a Dry Herb Vaporizer?
A dry herb vaporizer is a device that uses controlled heat to extract active compounds from dried herbs in the form of vapor — without any combustion.
The operating principle is straightforward: the device heats herb to a temperature range of 160-230 degrees Celsius, which is enough to vaporize active compounds but stays below the combustion point (around 230+ degrees). The result is clean vapor with no smoke, no tar, and none of the harmful byproducts created by burning.
Why "Vaporize" Instead of "Smoke"?
Because the mechanism is heating (baking), not burning. What you inhale is vapor, not smoke. This distinction matters enormously for both health and the quality of the experience.
---
Types of Dry Herb Vaporizers
Session Vaporizers
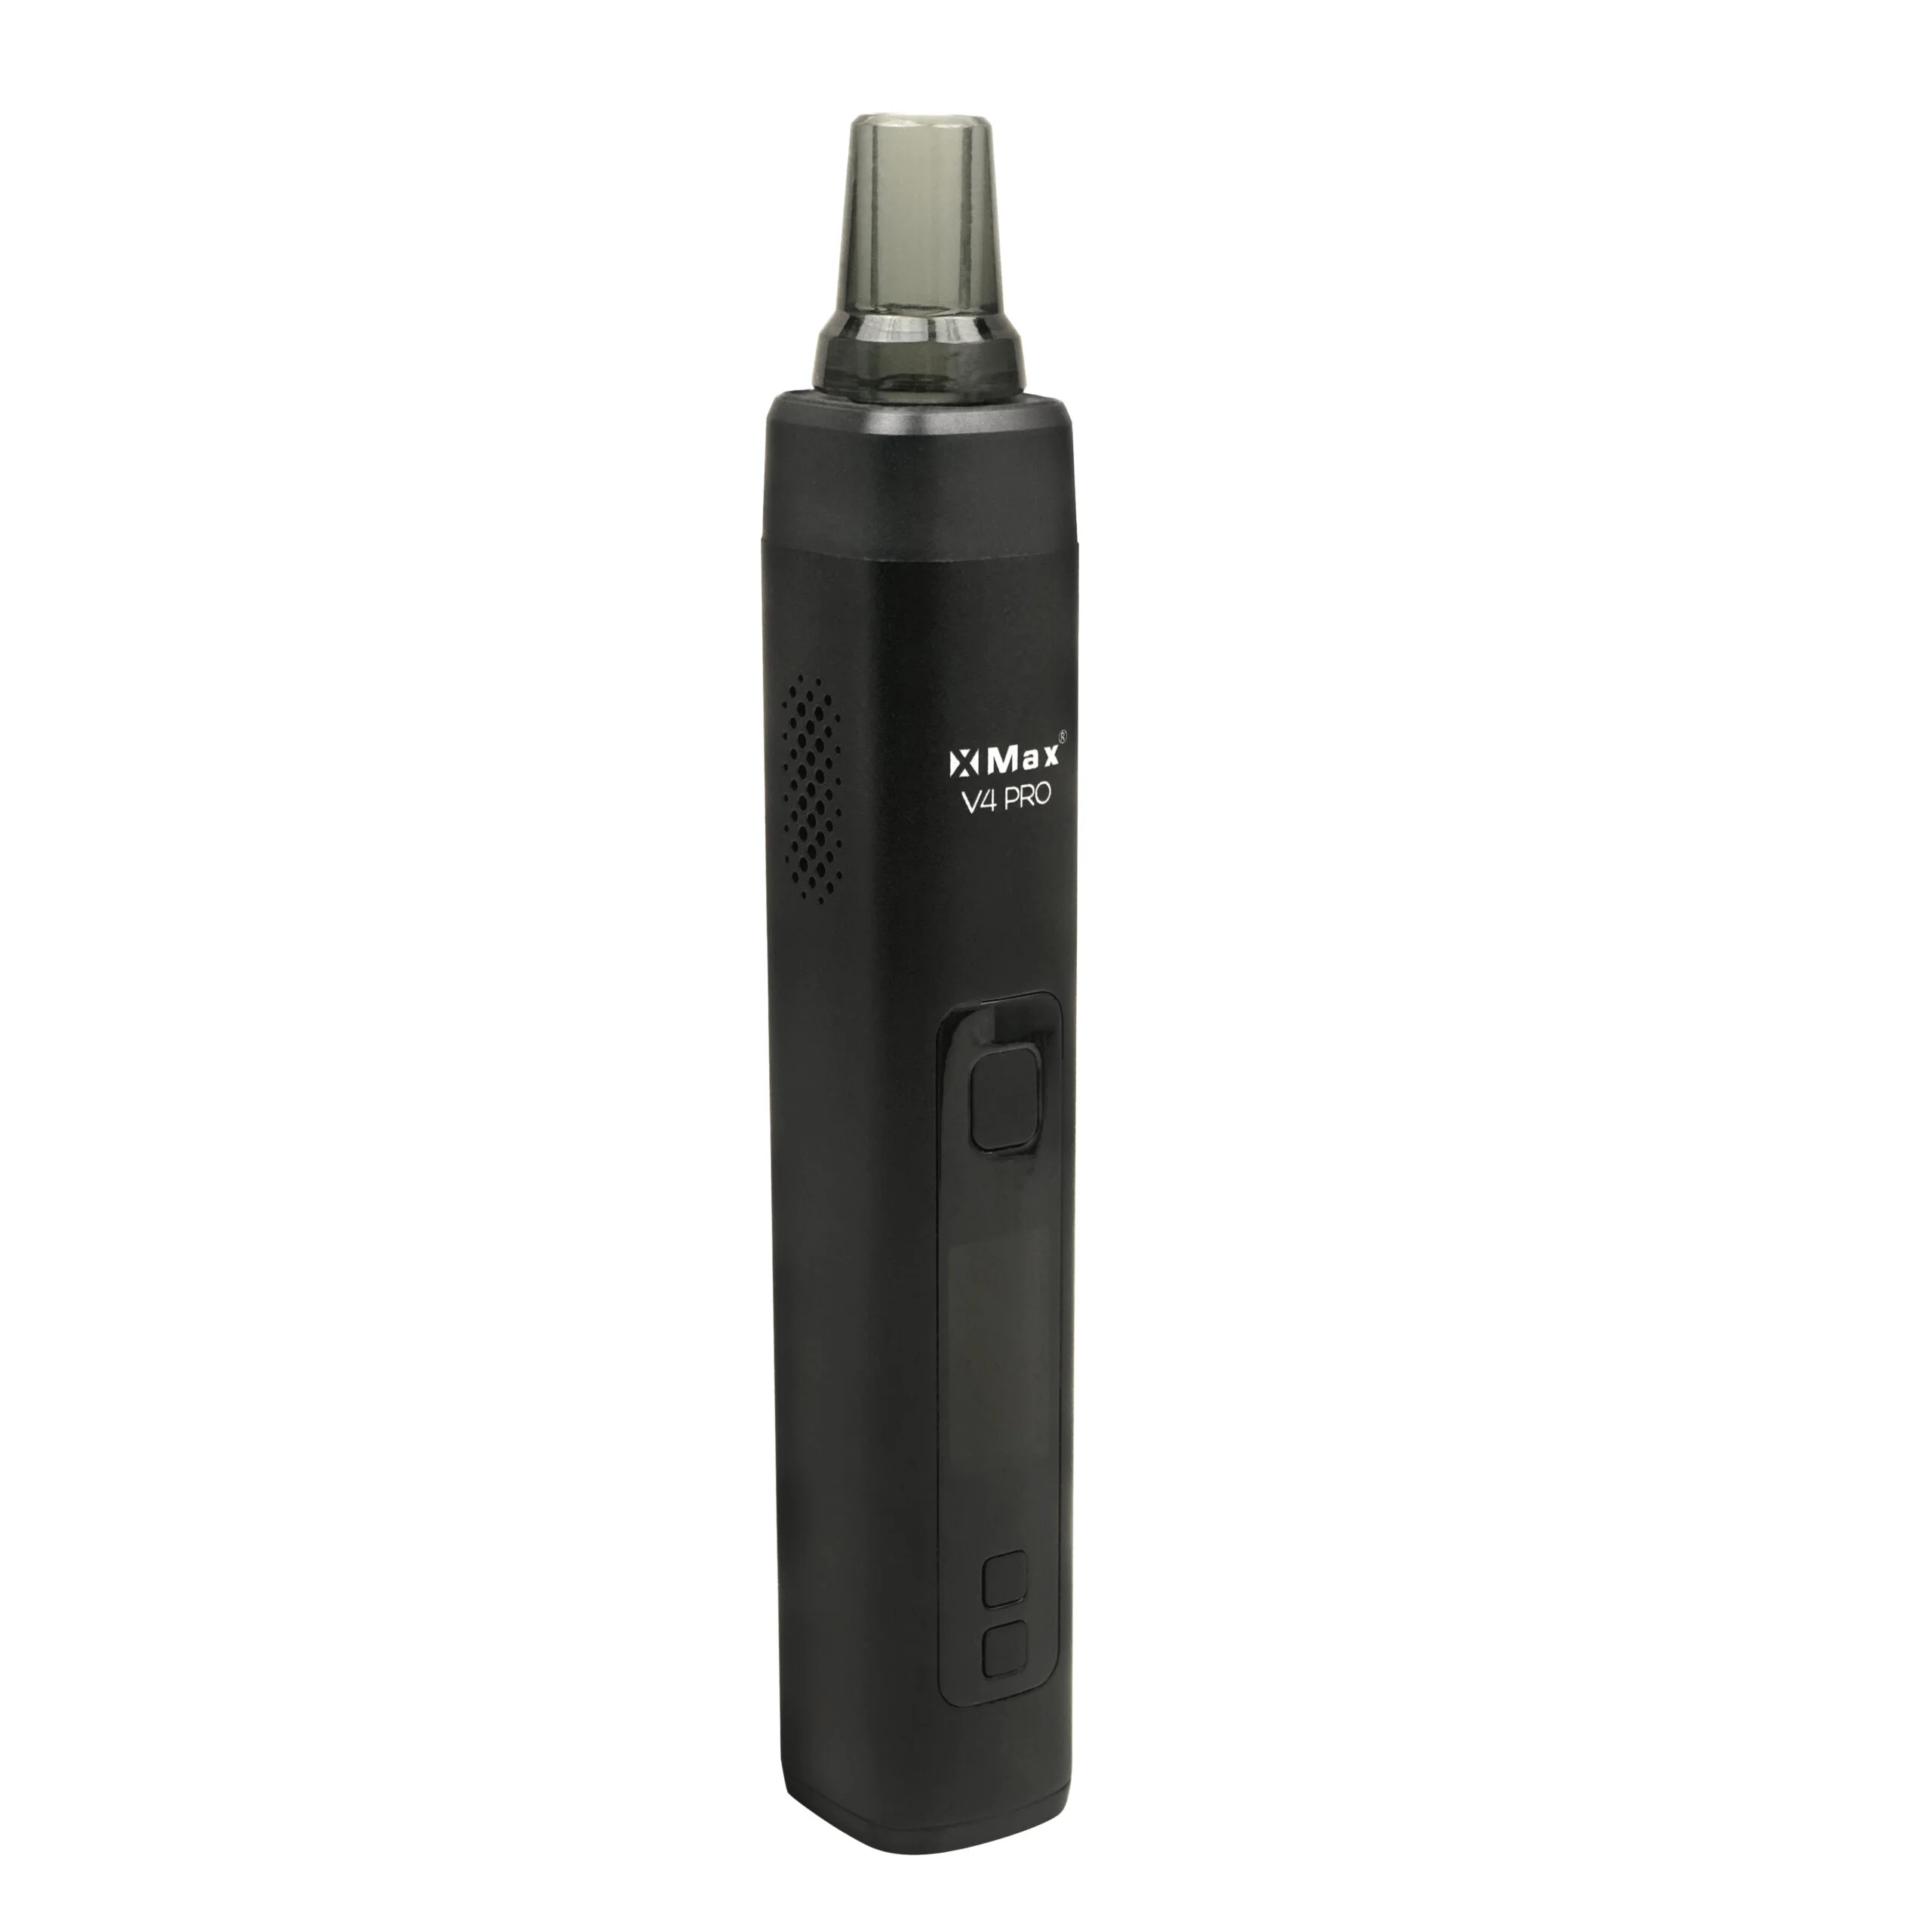
The device heats continuously for a set period (typically 3-5 minutes). Best for full-session use. Examples: Mighty+, Crafty+, XMAX V3 Pro, XMAX V4 Pro.
- Pros: Easy to use — just turn on and draw
- Note: The oven continues heating whether you are drawing or not, so plan to finish the bowl
On-Demand Vaporizers
Heat is applied only when you draw; stop drawing and heating stops. Best for micro-dosing or a quick draw or two. Examples: DynaVap, TinyMight 2.
- Pros: Very efficient with herb — take one draw and come back later
- Note: Slightly steeper learning curve than session vaporizers
---
How to Use a Dry Herb Vaporizer — Step by Step
Step 1: Grind Your Herb
Grinding is the single most important preparation step.
Why grind?
Ground herb exposes far more surface area to heat, allowing active compounds to vaporize evenly. Placing a whole bud in the oven means heat cannot reach the center, resulting in poor vapor and wasted material.
Which grind consistency?
| Grind Level | Appearance | Best For |
|---|---|---|
| Coarse | Chunky, visible structure | Not recommended for vaporizers |
| Medium | Table-salt size | Most vaporizers (recommended) |
| Fine | Flour-like powder | Some devices, but may clog airflow |
Step 2: Load the Oven
Open the oven chamber and fill it with ground herb.
The golden rules of loading:
- Fill to the rim of the chamber — level, not overflowing
- Tamp lightly — firm but not rock-hard
- Air must flow through. If you pack too tightly, draw resistance increases and vapor drops to zero
- For a smaller dose, you can half-load the oven, but expect lighter vapor
Using a Dosing Capsule:
If your device supports dosing capsules, load the herb into the capsule first, then drop the capsule into the oven. This keeps the chamber cleaner and makes reloading faster.
Step 3: Set the Temperature
Temperature determines the character of your vapor. Different active compounds vaporize at different temperatures.
Vaporizer Temperature Guide
| Temperature Range | Level | Vapor Character | Effect |
|---|---|---|---|
| 160-180 C | Low | Thin, flavorful vapor | Aromatic, mild relaxation |
| 180-200 C | Medium | Balanced vapor | Good balance of flavor and potency |
| 200-220 C | High | Thick, dense vapor | Strong relaxation, full extraction |
| 220-230 C | Very High | Very dense vapor | Maximum intensity, near combustion |
Avoid 230+ C — this is where combustion can begin, producing smoke instead of vapor and negating the benefits of vaporizing.
Step 4: Wait for Heat-Up
Press the power button and let the device reach the set temperature.
| Device | Heat-Up Time |
|---|---|
| XMAX V3 Nano | 20-30 seconds |
| XMAX V3 Pro | 20-30 seconds |
| XMAX V4 Pro | 15-25 seconds |
| S&B Mighty+ | 60 seconds |
| S&B Venty | 20 seconds |
Step 5: Inhale — The Correct Technique
This is where most beginners go wrong. Drawing from a vaporizer is fundamentally different from smoking.
The golden rules of inhaling:
1. Draw slowly and steadily — imagine you are gently smelling a flower, not sucking through a straw. A slow, even breath for 5-10 seconds per draw.
2. Each draw should take 5-10 seconds — slow and measured.
3. Do not draw hard — pulling too fast sends cold air through the oven before it can heat properly, resulting in little or no vapor.
4. You may not see much vapor — especially at lower temperatures. Thin, barely visible vapor still contains active compounds.
Common mistakes and fixes:
| Problem | Cause | Solution |
|---|---|---|
| No vapor at all | Drawing too hard | Draw much slower |
| Hot, harsh vapor | Temperature too high | Lower by 10-20 degrees |
| Burnt taste | Above 230 C or overpacked | Lower temperature, repack loosely |
| Very little vapor | Herb not ground, or oven nearly empty | Grind herb and load properly |
Step 6: Know When a Session Is Done
A single oven load typically provides 5-15 draws depending on temperature and chamber size. Signs a session is finished:
- Flavor changes — bitter or "popcorn" taste
- Vapor volume drops to almost nothing
- Herb in the oven is uniformly dark brown
When done, turn off the device, let it cool, then empty the spent herb.
---
Advanced Technique: Temperature Stepping
Experienced users often employ temperature stepping — gradually increasing the temperature throughout a session.
1. Start at 180 C — 3-5 draws (best flavor)
2. Increase to 195 C — 3-5 draws (balanced)
3. Increase to 210 C — 3-5 draws (stronger)
4. Finish at 220 C — draw until vapor stops (full extraction)
This method delivers the full spectrum of flavors and extracts the maximum amount of active compounds from each oven load.
---
Common Mistakes Beginners Make
1. Not Grinding (or Grinding Poorly)
Whole buds placed in the oven yield almost no vapor because heat cannot reach the center. Always grind before loading.
2. Overpacking the Oven
Compressing herb into a hard block prevents airflow. If air cannot pass through, you cannot draw vapor out. Pack firmly but not tightly.
3. Drawing Too Hard
This is the number one beginner mistake. A hard pull sends cool air through the chamber too quickly for the heater to keep up. Result: no vapor. Draw slowly and gently.
4. Starting at High Temperatures
Jumping straight to 220+ C produces hot, harsh, throat-burning vapor and burns through active compounds too quickly. Start low and step up gradually.
5. Neglecting Cleaning
Leftover residue accumulates into sticky resin that degrades flavor, reduces airflow, and shortens the device's lifespan. Brush the oven after every session.
6. Using a Partially Charged Battery
A low battery means the heater cannot maintain the set temperature. Vapor quality suffers. Charge fully before use.
---
Basic Maintenance
After Every Session
1. Turn off the device and let it cool
2. Empty the spent herb
3. Brush the oven with the included cleaning brush
4. Wipe the mouthpiece with a dry cloth
Every 5-10 Sessions
1. Remove the mouthpiece and soak it in 90% Isopropyl Alcohol (IPA)
2. Clean the oven walls with a cotton swab dipped in IPA
3. Brush the screens clean
4. Rinse parts with warm water and air-dry completely
Monthly
1. Inspect O-rings and seals for wear
2. Check screens for blockage — soak overnight in IPA if clogged
3. Assess battery health — if a full charge lasts fewer than 3 sessions, it may be time to consider a replacement
---
Recommended Vaporizers for Beginners
| Device | Price | Best For | Link |
|---|---|---|---|
| XMAX V3 Nano | 2,490 THB | Budget-friendly, ultra-portable | View Details |
| XMAX V3 Pro | 3,150 THB | Best value, versatile | View Details |
| XMAX V4 Pro | 4,490 THB | Feature-rich, premium build | View Details |
---
Frequently Asked Questions (FAQ)
1. What is the difference between a dry herb vaporizer and a Thai herbal steam cabinet?
They are completely different things. A herbal steam cabinet uses hot steam to envelop your body for relaxation and skin care. A dry herb vaporizer is a small electronic device that heats dried herbs to produce inhalable vapor. No water, no steam, no sauna.
2. Is vaporizing harmful?
A vaporizer produces vapor, not smoke. Because there is no combustion, vapor does not contain tar or the toxic byproducts of burning. Multiple studies indicate that vaporizing significantly reduces exposure to harmful compounds compared to smoking. However, no inhalation method is entirely risk-free.
3. What herbs can I use in a vaporizer?
Beyond cannabis, many dried herbs work well: lavender, chamomile, peppermint, eucalyptus, and others. Each herb has its own optimal temperature range.
4. How long does it take to charge a vaporizer?
It varies by model, but typically 1-2 hours. USB-C devices like the XMAX V3 Pro and XMAX V4 Pro charge faster. A full charge provides approximately 4-8 sessions.
5. Which vaporizer is best for a complete beginner?
The XMAX V3 Pro is the top recommendation for first-time users. It offers an affordable price, simple operation, fast heat-up, a digital temperature display, dosing capsule support, and a large user community. For something smaller, consider the XMAX V3 Nano. For more features, look at the XMAX V4 Pro.
---
Conclusion
Using a dry herb vaporizer is simpler than it looks. Remember the fundamentals: grind well, do not overpack, start at a low temperature, and draw slowly. That is all it takes to get started effectively.
Vaporizing delivers a noticeably different experience from traditional smoking — cleaner flavor, less odor, and reduced exposure to combustion byproducts. When you are ready to start, choose a device that fits your budget and needs.
Shop at GoodGuy — your authorized dealer for genuine vaporizers with warranty and after-sales support.
Browse Beginner-Friendly Vaporizers
---
Not Sure Which Vaporizer Is Right for You?
Take our 5-question product quiz to get a personalized recommendation, or use the product comparison tool to compare specs side-by-side.
Tags
People Also Ask
RECOMMENDED
Popular Herbal Vaporizers


Additional Resources
- Planet of the Vapes (POTV) — Global vaporizer reviews and rankings
- Vaporizer Wizard — In-depth vaporizer comparison guides and reviews
- 420 VapeZone — Video reviews and vaporizer usage techniques
Related Articles

LimeLight Frolic Review Roundup — The 9.4/10 Thermal Extractor Worth the Hype?
Every major review of the LimeLight Frolic compiled — POTV gave it 9.4/10, 420VapeZone named it Best New Portable 2026, but VapeGuy scored just 3.4/5. Real pros, cons, and comparisons from trusted sources.
LimeLight Frolic รีวิวรวม — Thermal Extractor ที่ได้ 9.4/10 จาก POTV ดีจริงไหม?
รวมรีวิว LimeLight Frolic จากทุกเว็บดัง — POTV ให้ 9.4/10, 420VapeZone ยก Best New Portable 2026, Troy & Jerry อันดับ 4 แต่ VapeGuy ให้แค่ 3.4/5 ทำไม? รวบรวมข้อดีข้อเสียจากผู้ใช้จริงทั่วโลก
