
XMAX V4 Pro Cleaning Guide: Complete Maintenance Manual
Quick Answer
Complete XMAX V4 Pro cleaning guide. Quick clean after every session, weekly deep clean, mouthpiece and airpath cleaning, glass accessory care, O-ring maintenance, screen replacement, and troubleshooting restricted airflow and taste issues. FAQ included.
XMAX V4 Pro Cleaning Guide -- Complete Maintenance Manual
Keeping your XMAX V4 Pro clean is not optional if you want consistently great flavor, reliable airflow, and a long device lifespan. This guide covers everything from quick post-session maintenance to thorough weekly deep cleaning, plus troubleshooting the most common issues.
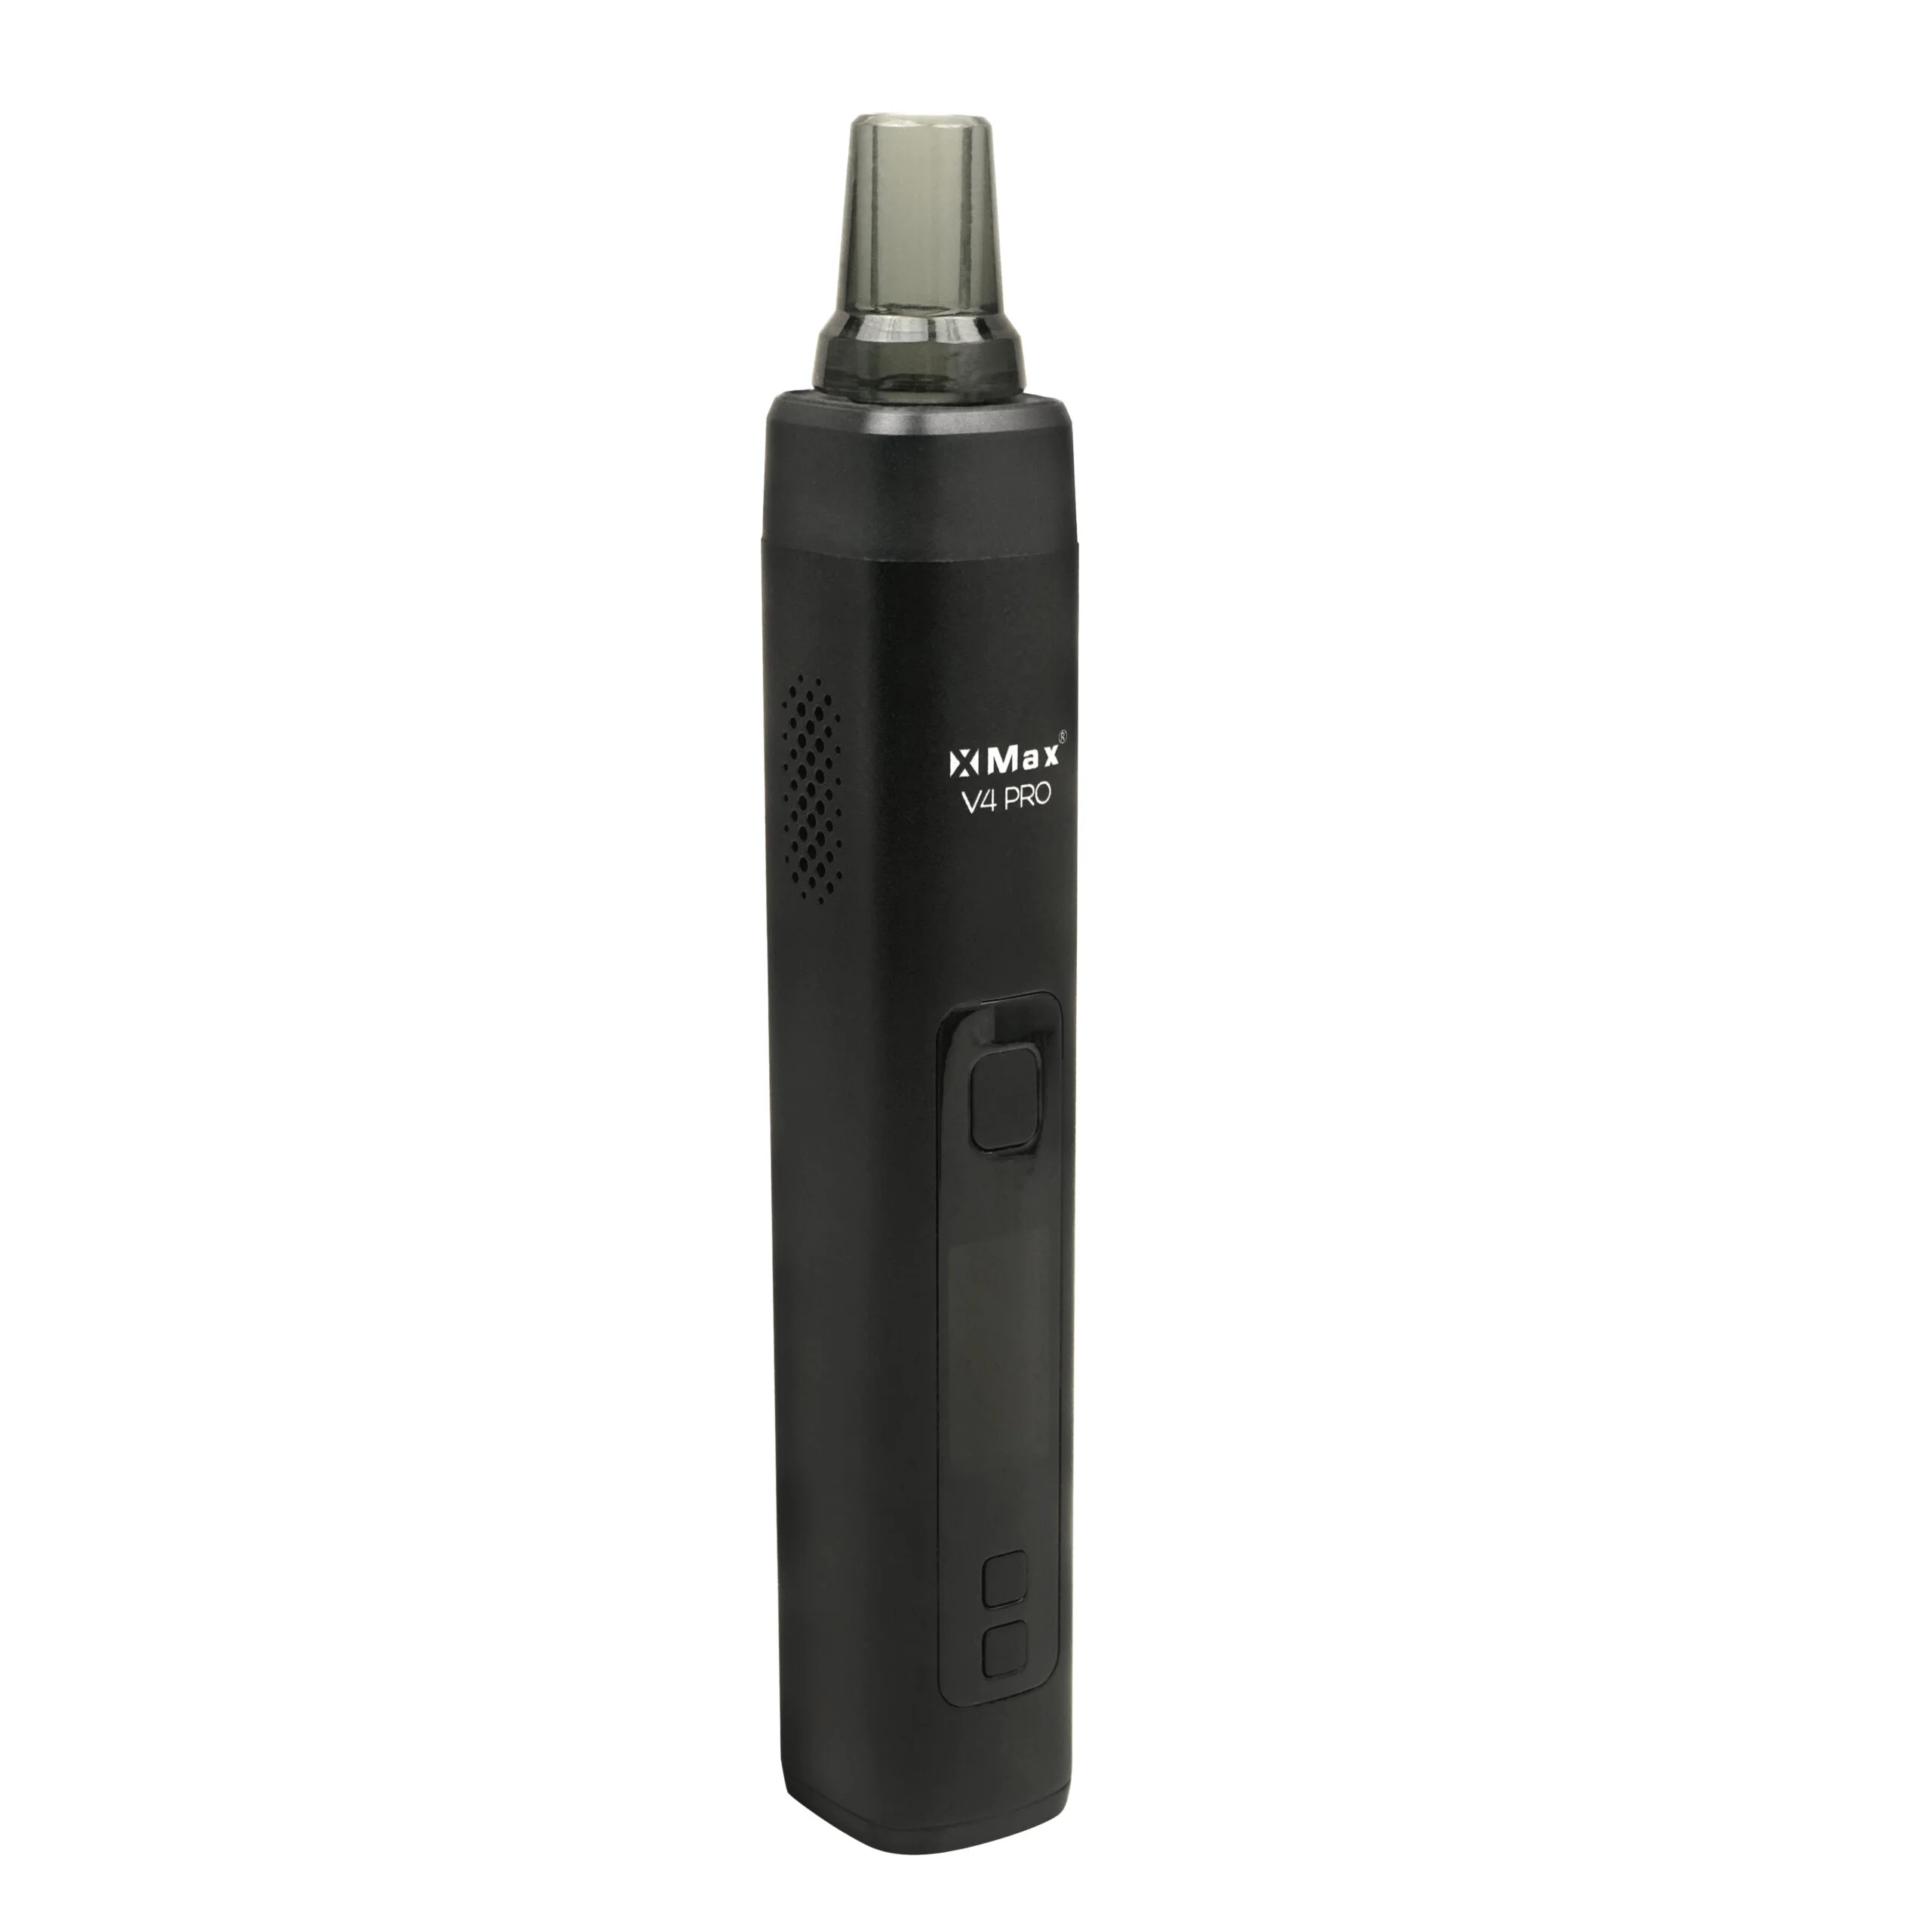
The XMAX V4 Pro shares most accessories and replacement parts with the V3 Pro. If you already own cleaning supplies or spare parts for a V3 Pro, they work with the V4 Pro as well.
---
Why Cleaning Matters
Better Flavor
Residue from each session accumulates inside the oven, mouthpiece, and airpath. Without regular cleaning, flavors gradually shift toward a stale, burnt taste. Consistent cleaning ensures every session tastes as fresh as the first.
Maintained Performance
Herb particles and resin buildup restrict airflow. For a Full Convection device like the V4 Pro, which relies entirely on hot air flowing through your herbs, clear airways are essential. A clogged airpath means weaker vapor and harder draws.
Longer Device Lifespan
Regular maintenance prevents O-rings from hardening and cracking, keeps screens functional for longer, and ensures every component operates at peak efficiency.
---
Supplies You Will Need
Before starting, gather the following:
- Cleaning brush (included in the box)
- Isopropyl Alcohol (IPA) at 90% concentration or higher
- Cotton swabs (Q-tips)
- Paper towels or a clean cloth
- A small cup or zip-lock bag for soaking parts
- Poker tool (included in the box)
- Spare screens (for replacement when needed)
Warning: Never use plain water on electronic components or the oven. Use IPA only. Ensure all parts are completely dry before reassembly.
---
Quick Clean After Every Session
This is the single most important habit. It takes less than one minute and prevents buildup from becoming a problem.
Steps
1. Power off and let the device cool slightly. It does not need to be completely cool, just not hot enough to burn.
2. Remove the mouthpiece to expose the oven.
3. Turn the device upside down and tap gently to dislodge spent herbs.
4. Use the brush to sweep remaining particles around the oven and edges.
5. Reassemble. Done.
Tip: If you use Dosing Capsules, this step becomes even easier. Simply remove the capsule and replace it with a fresh one.
---
Weekly Deep Clean
For regular users, perform a deep clean once per week or every 7 to 10 sessions.
Step 1: Clean the Oven
1. Power off and wait until the device is completely cool.
2. Remove the mouthpiece and screen.
3. Dip a cotton swab in IPA and wipe the inside of the oven thoroughly. Rotate the swab to dissolve resin deposits.
4. Use the poker tool to gently scrape stubborn residue. Avoid scratching the oven walls.
5. Wipe again with a clean cotton swab.
6. Allow to dry completely before use.
Step 2: Clean the Screen
1. Remove the screen from the oven.
2. Soak in IPA for 10 to 15 minutes.
3. Gently scrub with the brush.
4. Rinse with clean IPA.
5. Allow to dry completely.
If the screen is heavily clogged and cannot be cleaned, replace it. Screens are consumable parts that should be swapped periodically.
Step 3: Run a Burn-off Cycle
After cleaning the oven, reassemble the device without herbs and heat to 220 degrees Celsius for 1 to 2 cycles. This burns off any residual IPA. Do not skip this step.
---
Cleaning the Mouthpiece and Airpath
Plastic Mouthpiece
1. Remove the mouthpiece from the device.
2. Disassemble all separable components.
3. Soak all parts in IPA for 15 to 30 minutes.
4. Use cotton swabs to clean inside the air channels.
5. Rinse with clean IPA.
6. Allow to dry completely before reassembly.
Glass Mouthpiece
If you use the Glass Mouthpiece, cleaning is significantly easier. Soak in IPA for a few minutes, shake gently, and rinse. Glass does not absorb resin the way plastic does, so it cleans faster and more thoroughly.
---
Cleaning Glass Accessories
Glass Bubbler
The Glass Bubbler should be cleaned after every 2 to 3 uses.
1. Empty the water.
2. Fill approximately halfway with IPA.
3. Cover both openings with your fingers and shake vigorously for 30 seconds.
4. Pour out the dirty IPA.
5. Repeat until the IPA comes out clear.
6. Rinse with warm water (glass parts only, never the device itself).
7. Allow to dry completely.
Water Pipe Adapter
Soak in IPA for 15 to 30 minutes. Scrub with cotton swabs. Rinse with clean IPA and allow to dry.
---
O-Ring Maintenance
O-rings are small rubber seals that ensure the mouthpiece fits snugly into the device. Over time, they can harden, shrink, or crack, causing air leaks and reduced performance.
How to Care for O-Rings
- Remove O-rings gently during deep cleaning.
- Do not soak O-rings in IPA for more than 5 minutes, as prolonged exposure can degrade the rubber.
- Rub O-rings gently with your fingers to remove buildup.
- Apply food-grade lubricant if available to maintain elasticity.
- Replace O-rings if they become hard, cracked, or no longer seal properly.
---
Screen Replacement
Screens are consumable parts that need periodic replacement. Signs that a screen needs replacing include:
- Restricted airflow even after thorough cleaning
- Resin deposits that will not dissolve in IPA
- Warping or deformation of the screen
- More than half the mesh openings are clogged
Replacement is simple. Use the poker tool to pry out the old screen. Press a new screen firmly into place.
---
Troubleshooting Common Issues
Restricted Airflow
Primary causes include a clogged screen, resin buildup in the mouthpiece or airpath, or packing herbs too tightly.
Solution: Perform a deep clean following the steps above. Replace the screen if necessary. Pack herbs loosely for proper Convection airflow.
Off or Stale Taste
Causes include old resin deposits in the oven or mouthpiece, leftover herbs from previous sessions, or degraded O-rings.
Solution: Deep clean the oven and mouthpiece thoroughly. Inspect O-rings and replace if needed. Run a burn-off cycle after cleaning.
Less Vapor Than Usual
Causes include restricted airflow, overly dry herbs, or low battery.
Solution: Clean the airpath and screen. Check herb quality. Charge the battery.
---
FAQ
1. How often should I deep clean?
For daily users, once per week or every 7 to 10 sessions. For occasional users, every 2 weeks.
2. Can I use a different type of alcohol instead of IPA?
Not recommended. Use only Isopropyl Alcohol at 90% or higher concentration. Do not use ethanol, rubbing alcohol with additives, or household cleaners, as they may leave harmful residues that you would inhale.
3. Can I rinse the oven with water?
No. Never use water on the oven or any electronic components. Use IPA and cotton swabs only. Water can cause corrosion or short circuits.
4. Do V3 Pro cleaning supplies work with the V4 Pro?
Yes. The XMAX V4 Pro shares replacement parts and accessories with the V3 Pro, including screens, mouthpieces, and cleaning tools.
5. What if the screen is stuck and will not come out?
Apply a few drops of IPA onto the screen and wait a moment to dissolve the resin holding it in place. Then use the poker tool to gently pry it out. Do not use excessive force. If the screen is deformed, replace it with a new one.
---
Maintenance Schedule
| Frequency | Task |
|---|---|
| After every session | Empty oven, brush out residue |
| Weekly | Deep clean oven, screen, mouthpiece |
| Monthly | Inspect O-rings, clean glass accessories |
| As needed | Replace screen, replace O-rings |
Summary
Cleaning the XMAX V4 Pro is straightforward and requires minimal time. A quick clean after every session takes less than one minute. A weekly deep clean takes 10 to 15 minutes. The reward is consistently clean flavor, reliable airflow, and a device that performs like new for years.
Read the full review at XMAX V4 Pro Review or learn how to use your device at XMAX V4 Pro How to Use Guide.
---
Not Sure Which Vaporizer Is Right for You?
Take our 5-question product quiz to get a personalized recommendation, or use the product comparison tool to compare specs side-by-side.
Tags
People Also Ask
RECOMMENDED
Popular Herbal Vaporizers


Additional Resources
- Planet of the Vapes (POTV) — Global vaporizer reviews and rankings
- Vaporizer Wizard — In-depth vaporizer comparison guides and reviews
- 420 VapeZone — Video reviews and vaporizer usage techniques
Related Articles

LimeLight Frolic Review Roundup — The 9.4/10 Thermal Extractor Worth the Hype?
Every major review of the LimeLight Frolic compiled — POTV gave it 9.4/10, 420VapeZone named it Best New Portable 2026, but VapeGuy scored just 3.4/5. Real pros, cons, and comparisons from trusted sources.
LimeLight Frolic รีวิวรวม — Thermal Extractor ที่ได้ 9.4/10 จาก POTV ดีจริงไหม?
รวมรีวิว LimeLight Frolic จากทุกเว็บดัง — POTV ให้ 9.4/10, 420VapeZone ยก Best New Portable 2026, Troy & Jerry อันดับ 4 แต่ VapeGuy ให้แค่ 3.4/5 ทำไม? รวบรวมข้อดีข้อเสียจากผู้ใช้จริงทั่วโลก
